Car leather upholstery: Care & Maintenance 101

Buying a car is one task but maintaining and taking care of the new vehicle is a completely other game. Today we are going to focus on one such car care regime that every car owner must follow, i.e., taking care of one’s car leather upholstery.
Leather-wrapped interiors were previously limited to high-end brands or top models, however, now they are pretty much everywhere. Even the base models are seen wrapped in leather making it a normal inclusion we expect brands to offer.

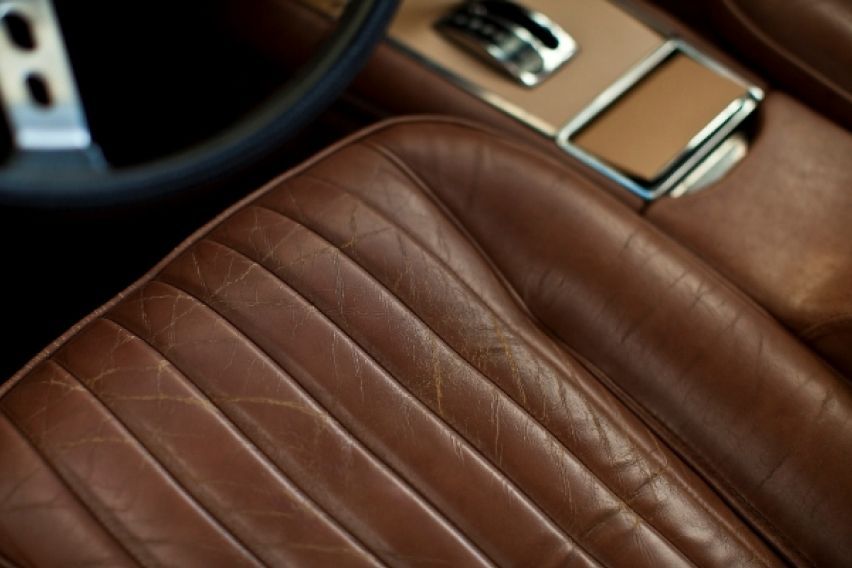
However, what owners forget is having a leather-clad cabin is not the same as the fabric. While the latter requires very basic cleaning, the former needs timely care for longevity and finish & feel maintenance.
One can compare leather care to that of skin, if not taken care of for long it will become brittle and dry. The prolonged heat and UV ray exposure will take a toll on the soft texture and its premium look & feel.
So, what should a car owner with a leather interior do? As per car care experts, a car's leather seats and upholstery require conditioning every three months. Also, with some easy preventive measures, one can add years of the leather interior life cycle.
The below-mentioned points will not only help a car owner preserve the leather wrapping in the car but will also save the heavy cost incurred while fixing the damaged leather.
Top tips to protect/preserve a car’s leather seats & upholstery
Park away from direct sunlight
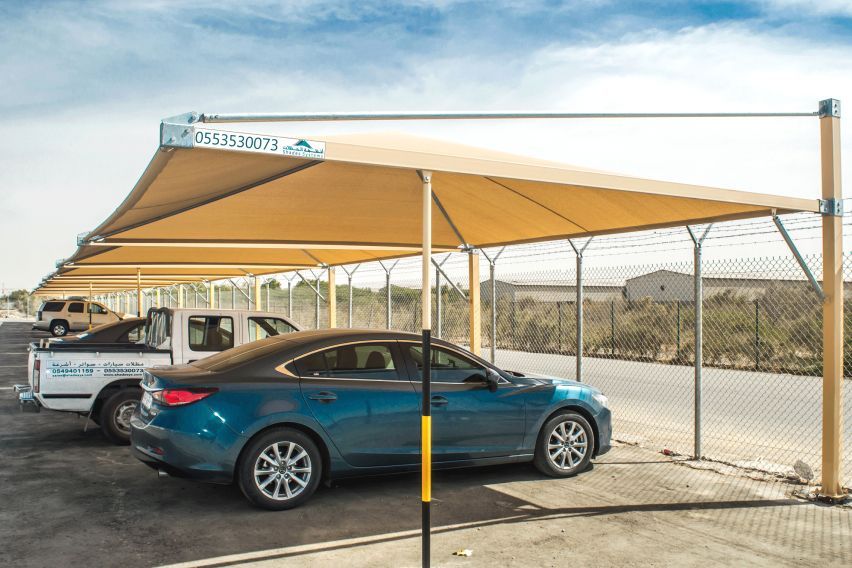
One of the biggest enemies of your car’s leather interior is the sun. The UV rays from the red ball of fire will not only lead to discolouration but will cause the leather to dry and crack. So, always try and find a parking spot where there’s no or minimal sun exposure.
Keep sunshades handy
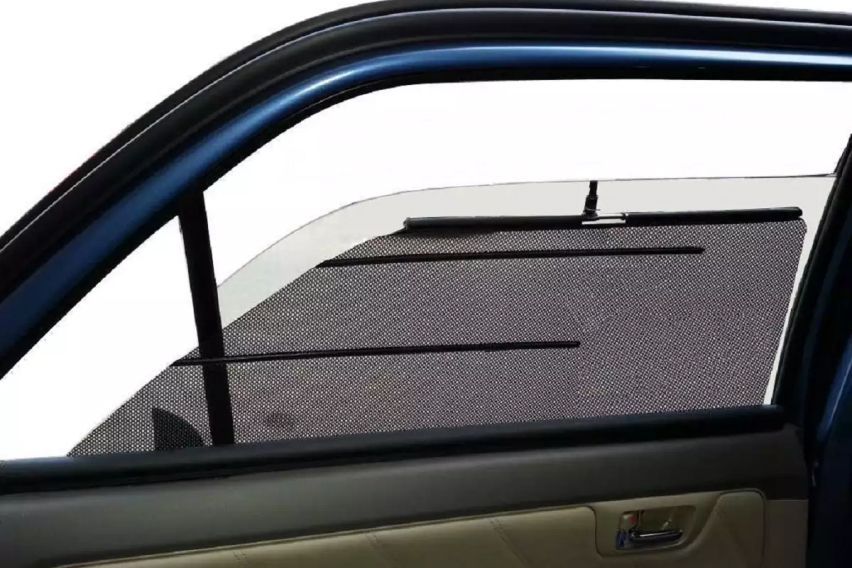
If you are unable to find a shaded parking spot, put sunshades on all the windows and other glass surfaces in the car. They will help protect (though not fully but to a great extent) the interior from harmful UV rays.
Tinted windows
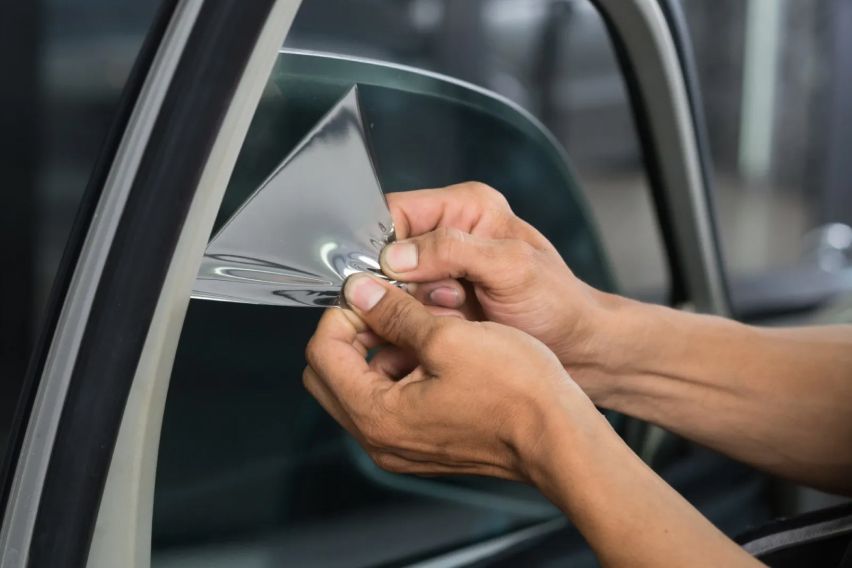
A good quality tint might cost a bit but the advantages it will offer will cover that extra cash. Not only the tint will reduce the impact of harmful UV rays but will also keep the car cool. Thus saving all the fuel that the air-con system eats up otherwise.
After prevention comes maintenance, so let’s get started with the leather care regime every car owner must follow.
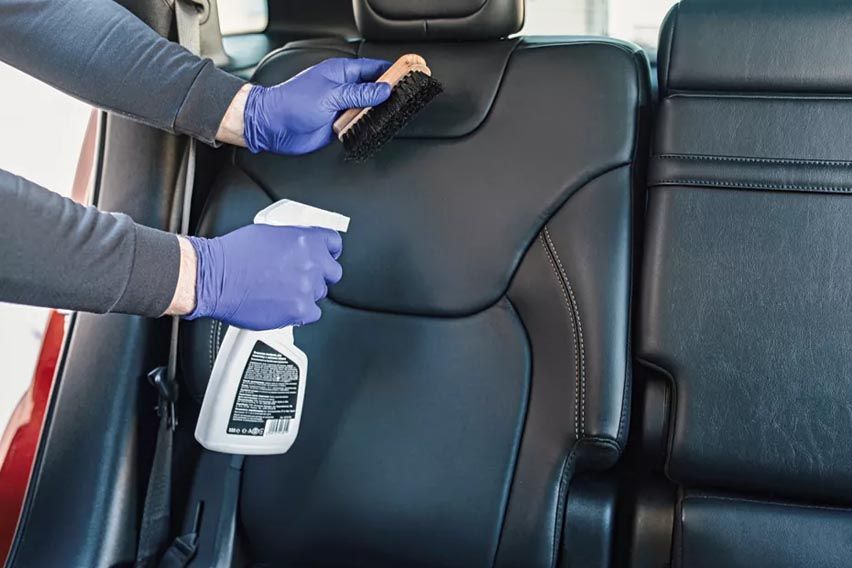
Vacuum the car’s interior
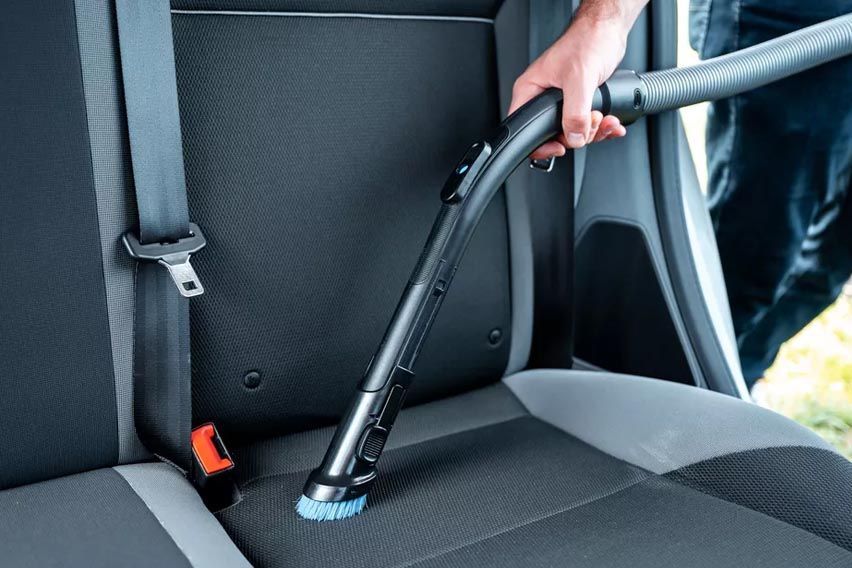
Step one is to plug in that vacuum cleaner of yours and let it suck all the dirt and debris that has been lying around. However, remember to attach the nozzle with the soft bristle brush as it is gentle on the leather and won’t cause any scratching.
Get rid of the stain
After freeing the car from all the loose dirt, it is time to act on those stubborn stains. For that simply get the talcum powder and direct it to the patch. The power will act as an absorbent and take in all the moisture away from the damp stains. Alternatively, cornstarch works great on new and moist stains. All you have to do is let the power rest on the stain for a minute or two before wiping the area with a damp cloth, preferably microfibre.
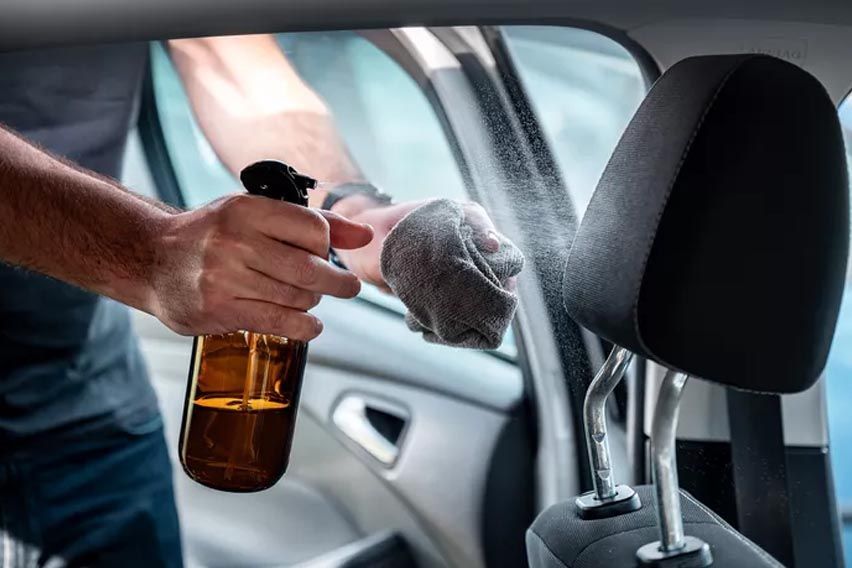
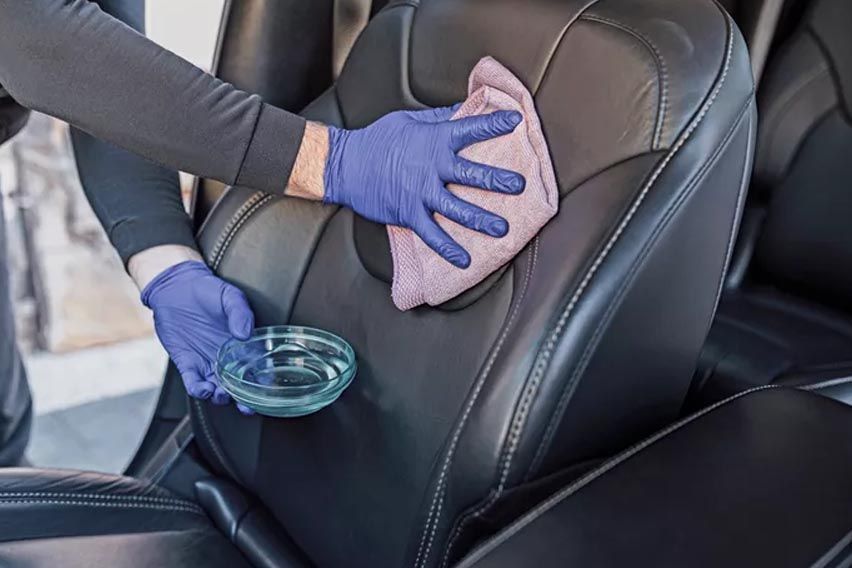
Time for conditioning
After removing the dirt and working on the stains, it is time for some real action, i.e., leather conditioning. Remember not to skip the former two steps as the derbies would compromise the leather finish during the conditioning phase.
For leather conditioning, one can either use conditioners available in the market or make one home. The former is available in a spray bottle or liquid form and shall be used exactly as instructed on the product. For instance, maintain a 20 cm distance when using a spray bottle and a microfibre cloth in case of a liquid conditioner.
As for the homemade leather conditioner, one would require white vinegar (pH value 2.4) and distilled water. In a spray bottle mix three parts of vinegar with one part of water, shake the solution and spray it on the surface. Remember not to leave the solution unattended on the leather surface for too long, just a couple of minutes will do the job.
Rub & rub, but gently
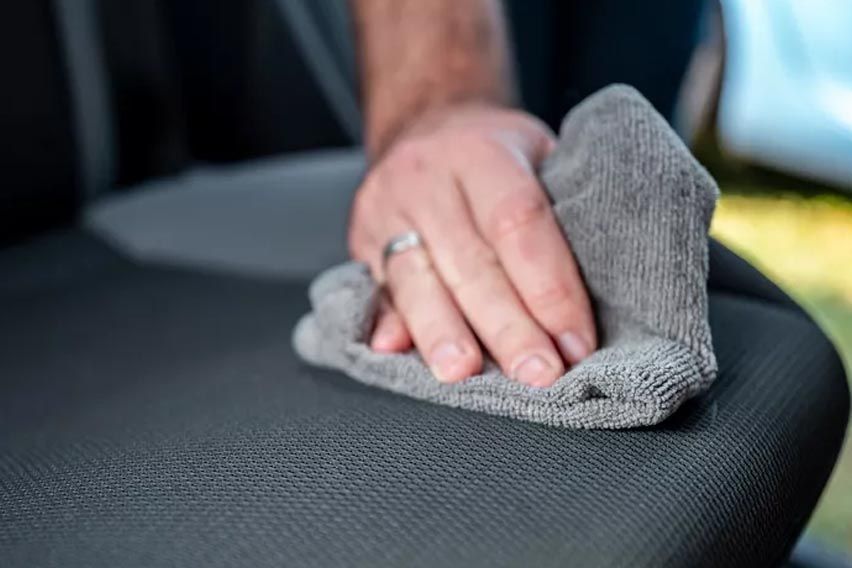
After applying the conditioner, it is time now for some tough action. Use a clean cloth, preferably microfibre, and gently rub the leather surface with the already applied conditioner. Make soft, circular motions and see the cloth absorb grime and dirt.
For stubborn stains, dip the microfibre in the solution and gently rub the spot until the spot is removed or fades.
Once done with the rubbing, let the conditioner stay for a bit ( 2-3 minutes).
Time to wipe the excess
7After applying and rubbing the conditioner on the leather, it is now to remove all the excess solution from the leather. As mentioned earlier, the whipping is to be done after leaving the conditioner undisturbed for 2-3 minutes, as this will help loosen up particles and clear the surface even more.
Buff for a shiny finish
Relaxing this one is the last step. Just take a clean, dry microfiber cloth and start buffing the surface. This would bring out the shine and make the leather feeling soft and supple as new.
It might take a little effort and time, but the result would be truly impressive. The more you’ll buff, the more the conditioner’s hydrating and softening agents would get. They’d then penetrate into the surface which will strengthen it, thus preserving cracks and discolouration.
Try it and let us know the results. For more useful car care tips and the latest auto news, keep following Zigwheels Malaysia.

Purva Jain
Purva is a crazy admirer of cars and she has got a lot of expertise in their detailing. Though, she has mastered in Economics but cars have always been her field of interest. She is an introvert in talking but when it comes to cars and the latest news regarding them she talks like hell. Exploring new cars as well as the vintage machines is listed in her hobbies while getting to know about the history behind the same are the things which she enjoys the most. She may seem silent from the outside but inside her is a volcano erupting to engulf the mean machines.
Read Full BioKLIMS 2026


Malaysia Autoshow
Trending & Fresh Updates
- Latest
- Popular
-

-
-
-
-
-
-
-
-
-
Electric Car: A comprehensive buying guidePurva Jain, Jul 01, 2024
-
Must watch automotive movies for enthusiastsPurva Jain, Feb 21, 2024
-
Car Rust-proofing 101: All you need to knowPurva Jain, Feb 15, 2024


You might also be interested in
- News
-
-
-
Volkswagen Malaysia to bring Arteon in 2019Purva Jain, Nov 05, 2018
-

 enforcement postponed until further notice")


Featured Cars
- Latest
- Upcoming
- Popular
-

-
-
Proton e.MAS 7RM 103,800 - 119,800 OTR Price SibuEMI : RM 1,212 x 844.19 (16 Reviews) VIEW JULY OFFERS
-
-


-
Perodua BezzaRM 34,580 - 49,980 OTR Price SibuEMI : RM 404 x 844.19 (81 Reviews) VIEW JULY OFFERS
-
-
-
-


Latest Car Videos on Zigwheels
-
Proton e.MAS 7 PHEV Premium — the smartest car buy in Malaysia right now?25 Jun, 2026 .
-
Leapmotor B10 KL to Penang, Is This Sub-RM120k EV Enough for Everyone?11 May, 2026 .
-
First Drive GWM WEY G9, MPV Premium Paling Berbaloi Sekarang?11 May, 2026 .
-
2026 BMW i5 CKD Review Malaysia - Has BMW Built the EV for People Still Not Sold on EVs?10 Apr, 2026 .
-
Mitsubishi Xforce First Impressions Malaysia – Is This the Surprise SUV of 2026?24 Mar, 2026 .
-
2026 Perodua Traz Review – Is It Worth a Try?04 Feb, 2026 .
-
1 Tank, 3 Days, 1,200 KM… The Chery Tiggo 7 PHEV Actually Did It10 Dec, 2025 .
-
The Jaecoo J8 Might Be the Best SUV Under RM200k… Here’s Why!10 Dec, 2025 .
-
Volvo XC90 T8 Ultra Review – The “One and Done” SUV28 Oct, 2025 .
-
2025 Proton X50 Facelift Review - Still The One To Buy?26 Sep, 2025 .